Sunday, March 05, 2006
Installing LEDs into your car's footwells.
Things Needed:
- A buncha LEDs and resistors
- Wiring
- Inline fuse with 10A fuse
- Simple switch (I used a rocker switch)
- Wire strippers
- Electrical tape
Here's the basic wiring diagram:

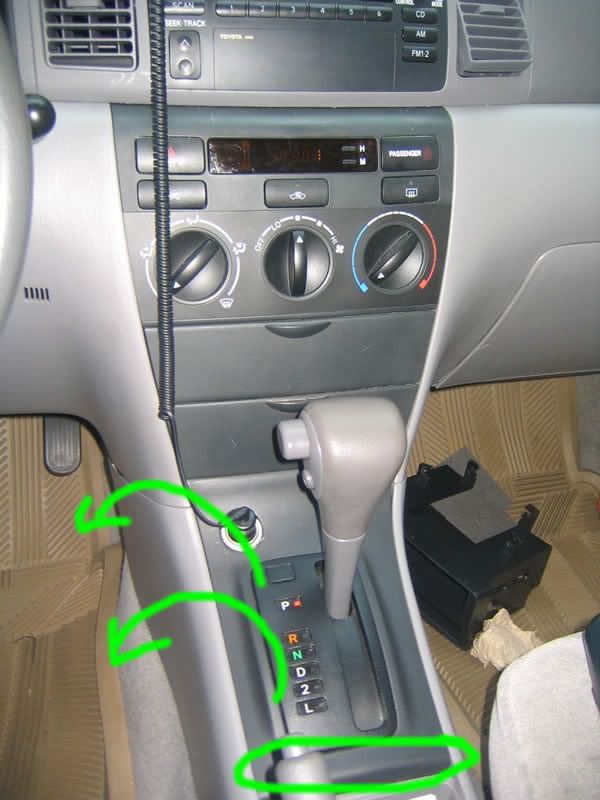
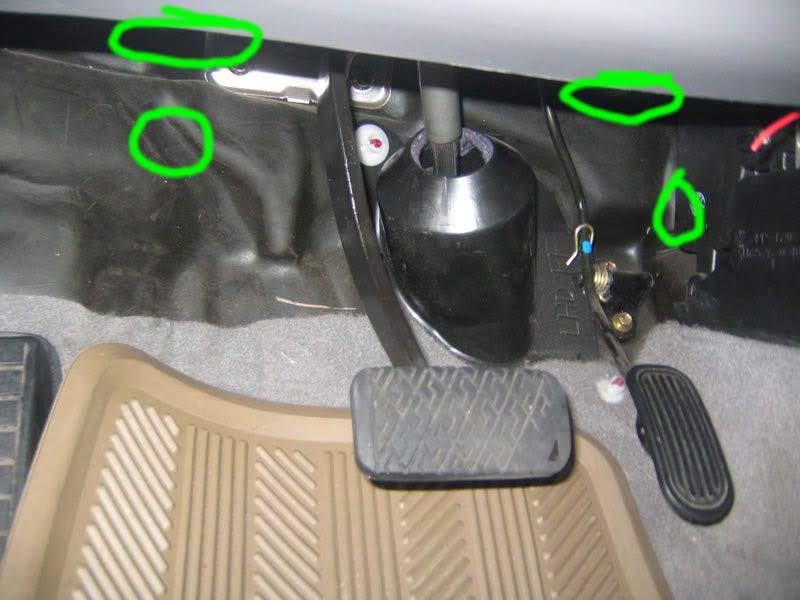
First, take off the bottom shifter peice.
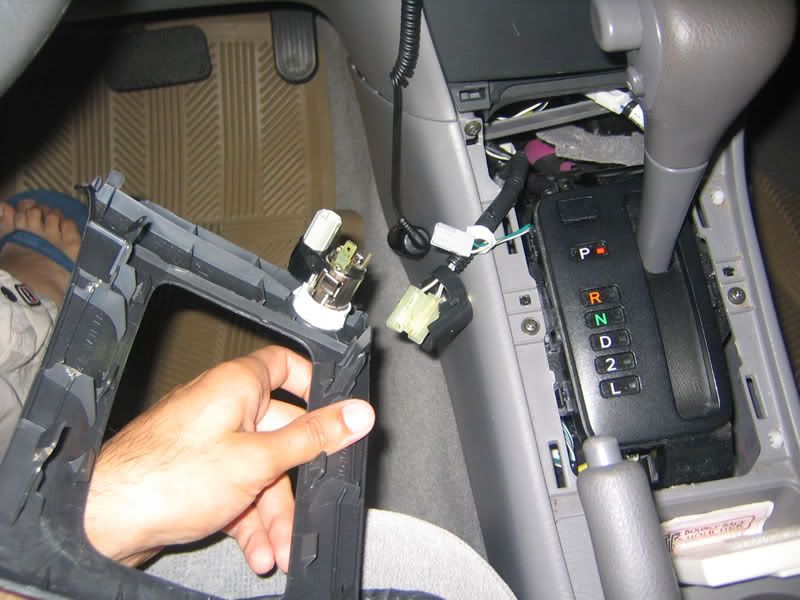
Disconnect the cigarette lighter and the other little connector
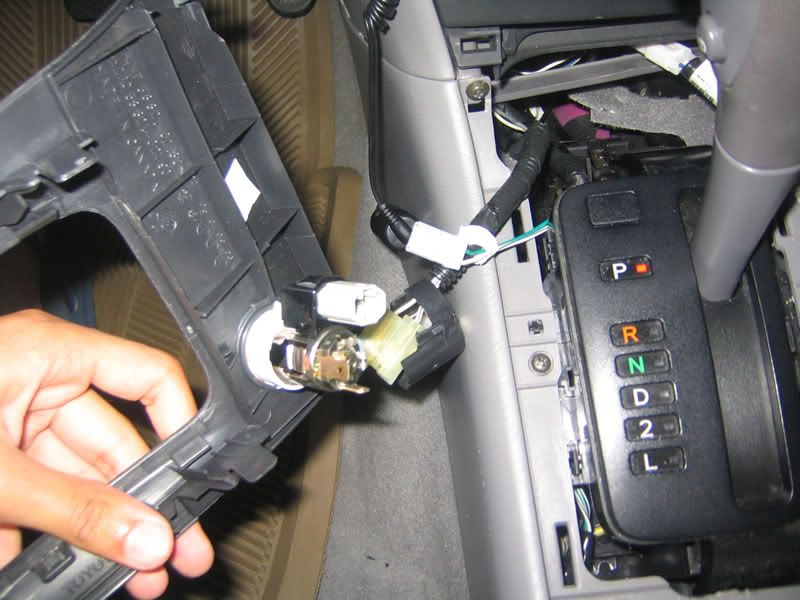
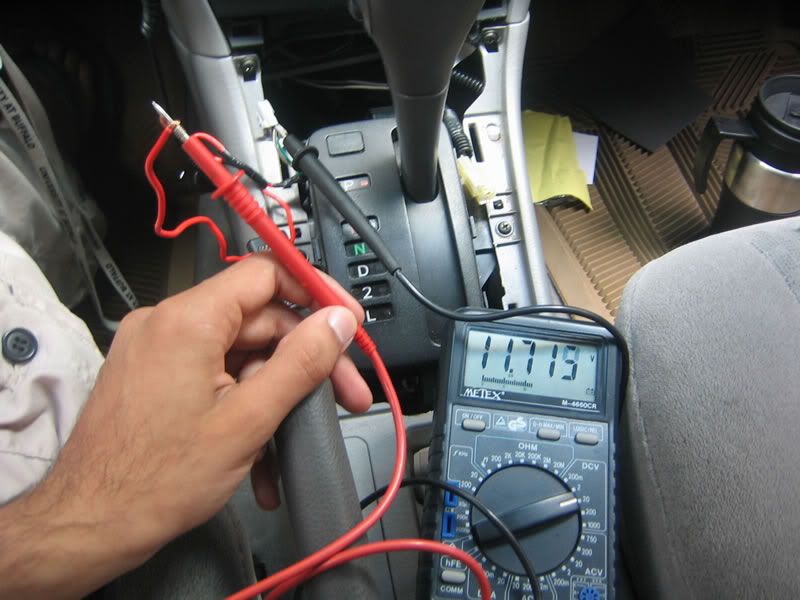
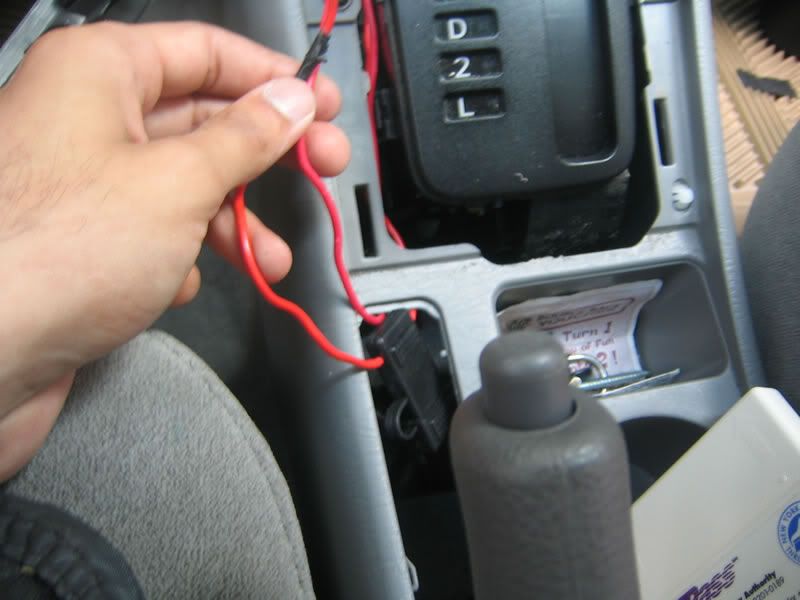
The green wire is the one you want to tap into, so split the wire. , and take it to the switch


Make sure it works...it should get about 12v power
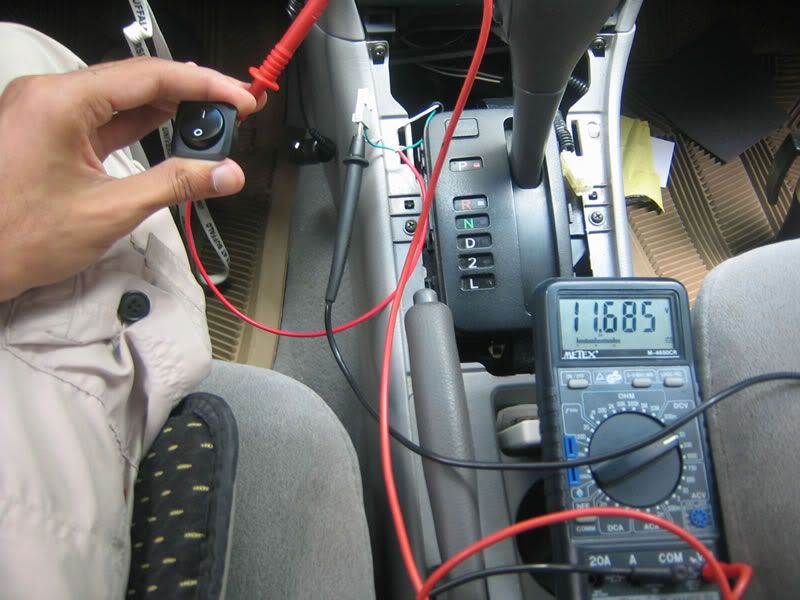
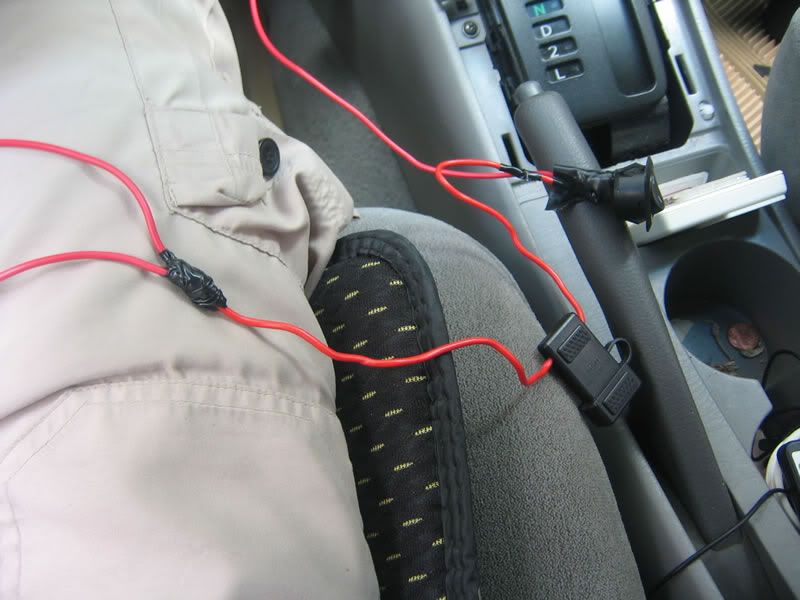
Now wire the fuse into the switch. I used a 10amp fuse.

Now from the fuse, branch off 2 wires, one for the left side and one for the right side.
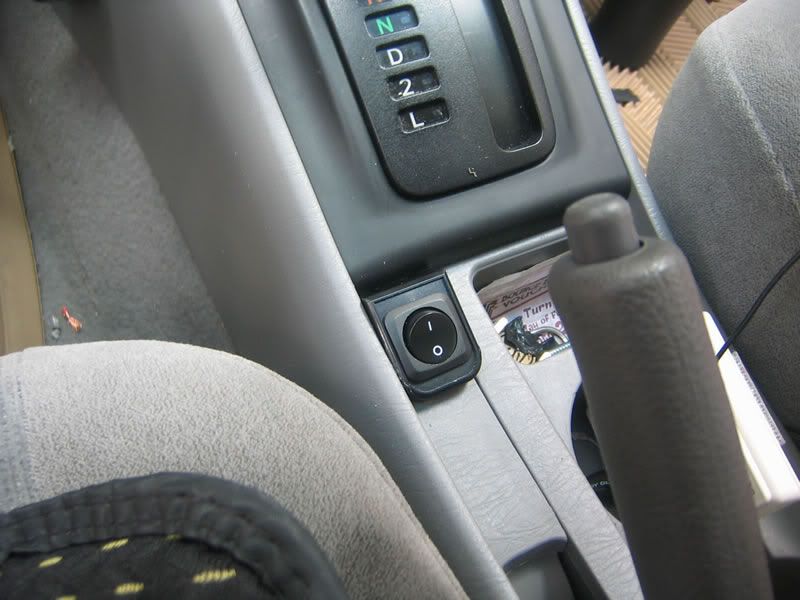
Now I wanted a nice, flush spot to mount the switch so it wouldnt look bad but won't be in the way. I chose to mount it right under the emergency brake.
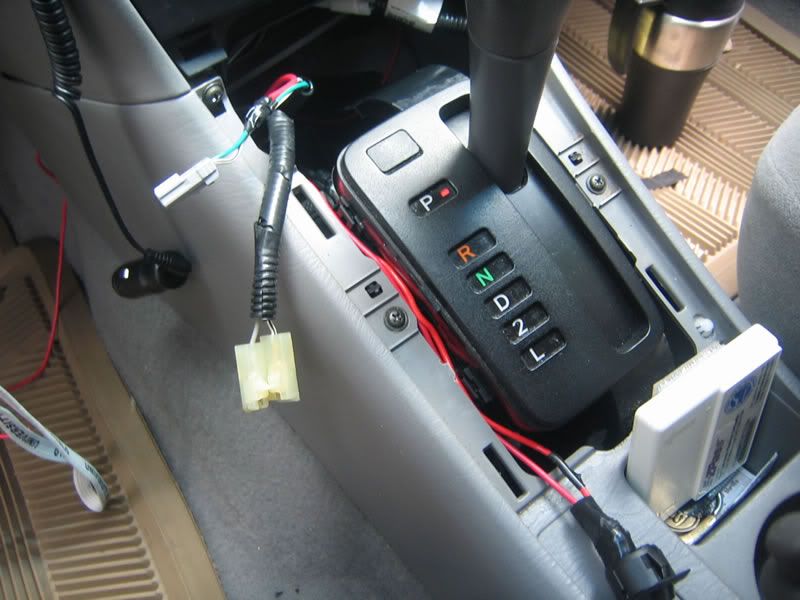
Run the wires down so they goto that general area.
Take out the little part and bring the wires up. This is also a good spot because the fuse is quickly accessable.

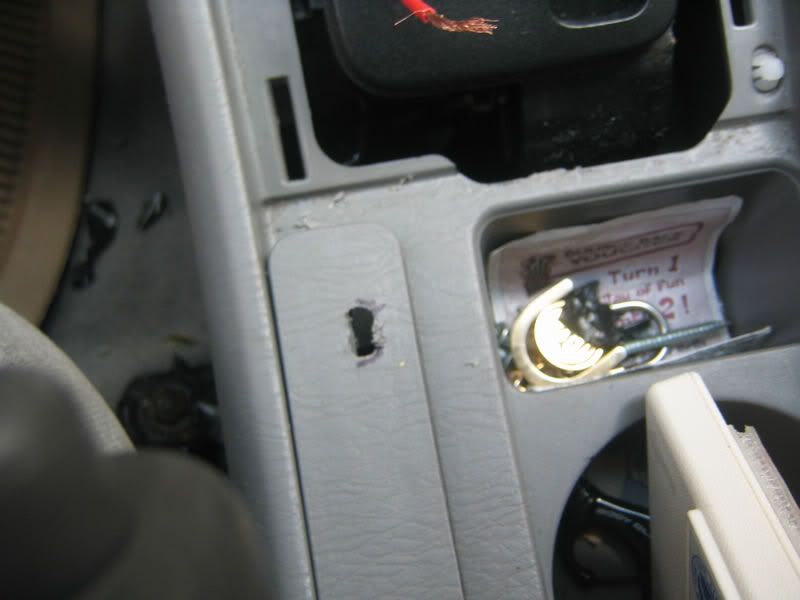

Dremels are the best thing invented, ever
Mount the switch in so it's nice and flush.
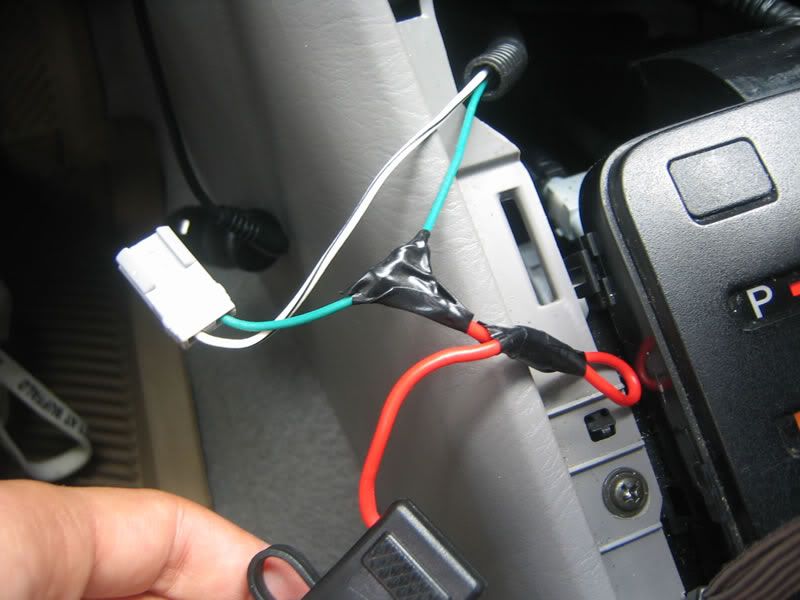
The white-black one, and splice into that for ground, also 2 wires and extend those so they come out the sides. (Sorry I didn't get a picture of that, I forgot, but it should be pretty self-explanitory if you got this far ;)
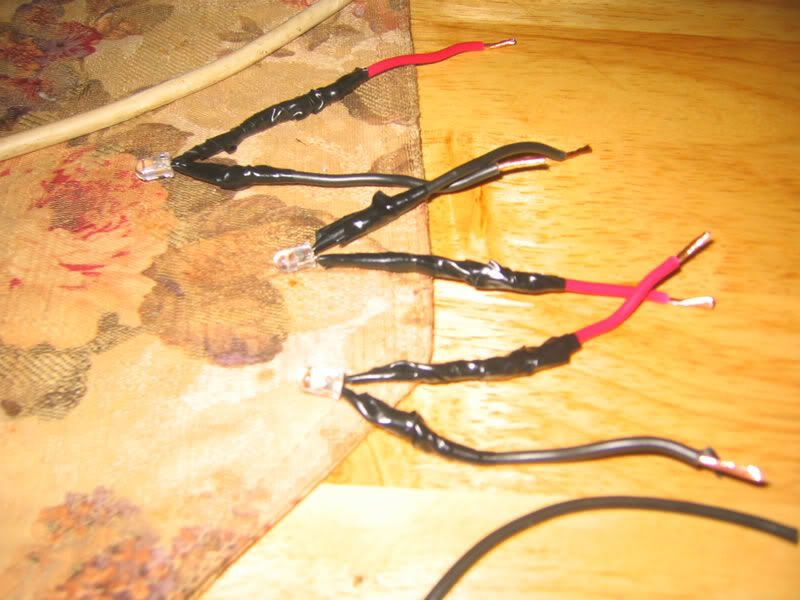
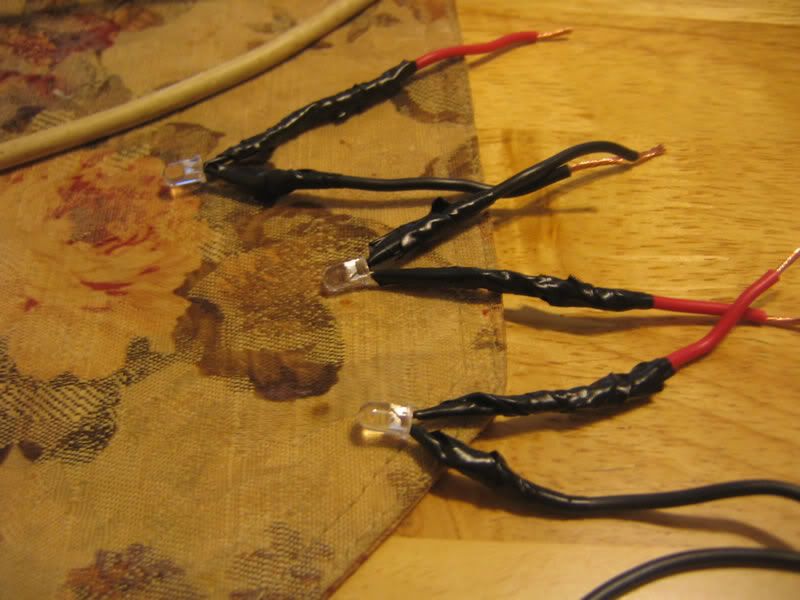
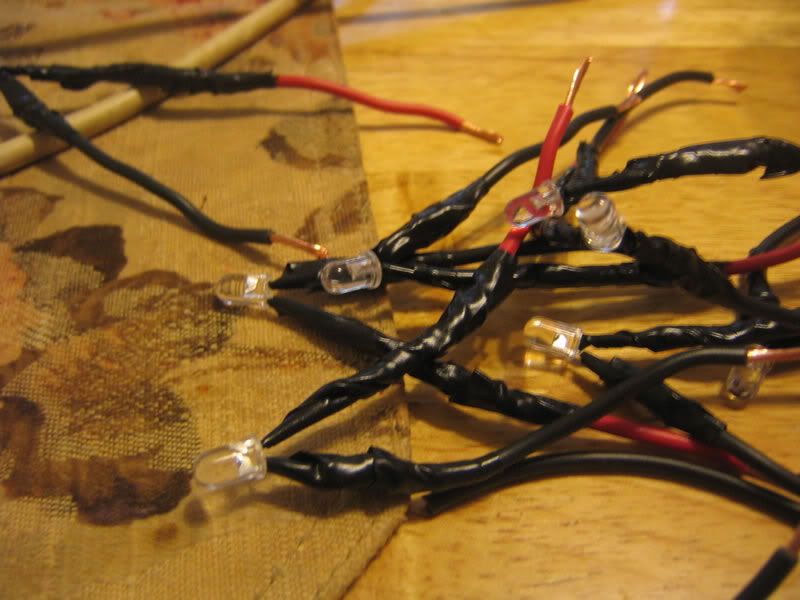
Now that that is done, now to wire up the LEDs
Soldered on the resistors, and then soldered the wires on and then electrical taped it


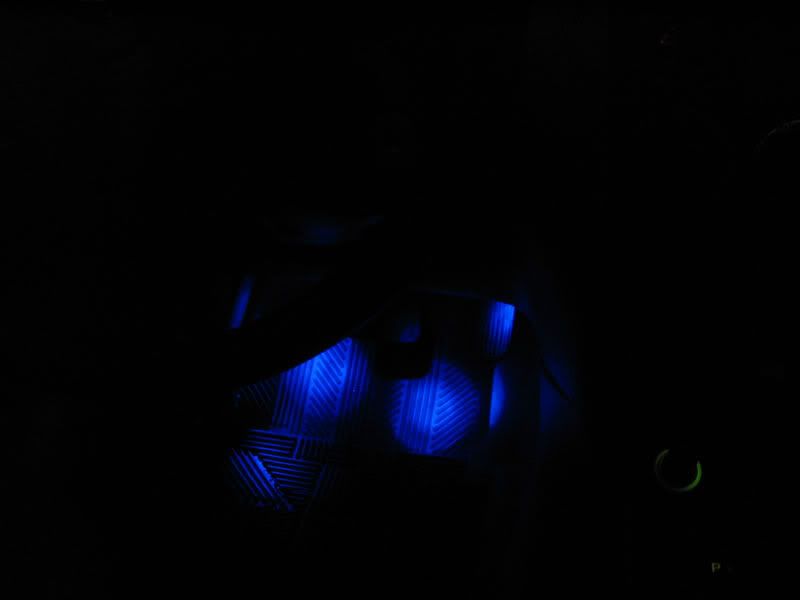
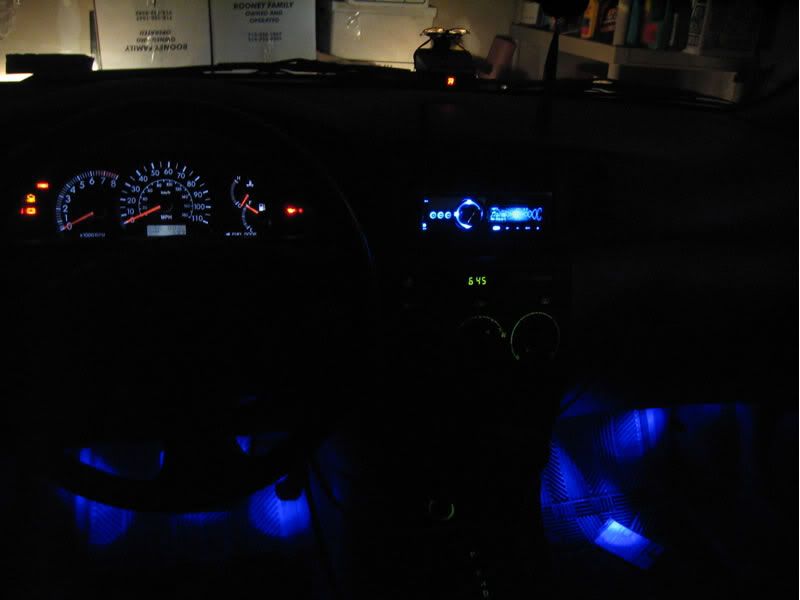
It wasn't night time when I took this pic, but at night, it looks much better. Now do the same thing for the other side (I havent finished it yet..) and then you're done! =)
![]()
