Sunday, March 12, 2006
Crybaby Wah Pedal True Bypass
After seeing the guide from http://homepage.ntlworld.com/s.castledine/greenfuz/tb4.html, I thought it would be a real good idea to do it. My wah pedal sucks out so much of my tone, and after doing the mod, there was a HUGE noticeable difference.
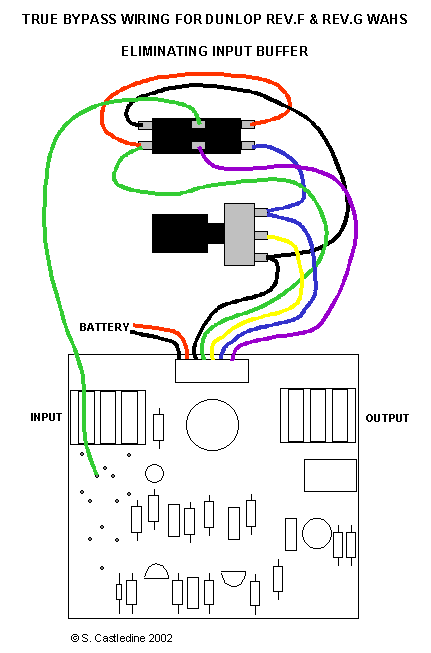
A note before you see the wiring diagram:
The colors of the wiring match the exact ones, you only need to add an addition 3 wires: the RED wire, which goes from the bottom left plug where the green wire connects, to the upper right plug. The green wire from the circuit board to the top middle plug, and then the black wire which connects to the ground on the pot (the ground on the pot is the one where the black wire is connected there)
So here it is:
This is the kind of replacement switch you need. It's a "push on-push off" DPDT switch. I found it on eBay, I haven't found it at RadioShack, so it might take some looking around, but you'll find it.

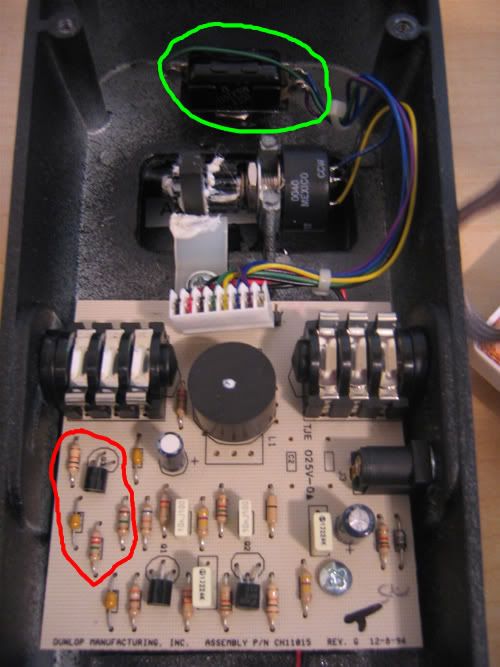
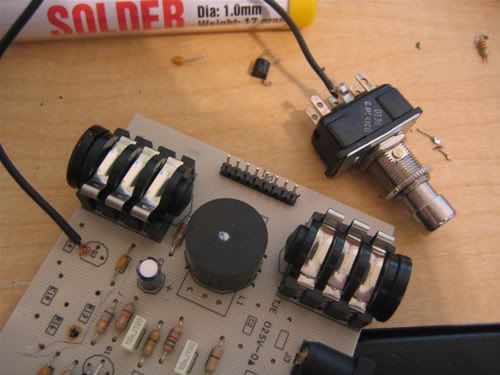
So, open up the bottom.
Desolder the switch (outlines in green), and remove all the compenents CLEANLY that are circled in red. Be careful not to strip the track on the bottom, I almost did accidently.
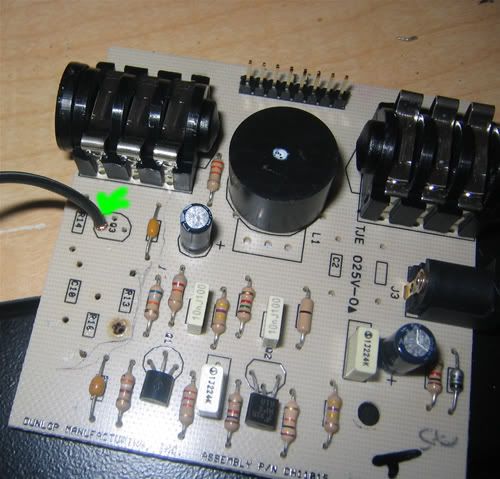
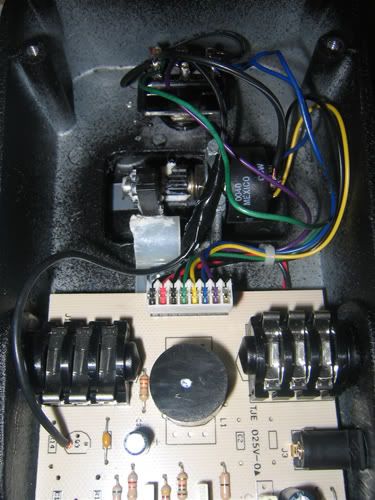
Now take a wire, and stick it into the spot the green arrow is pointing to, and solder it down on the bottom as shown in the next picture
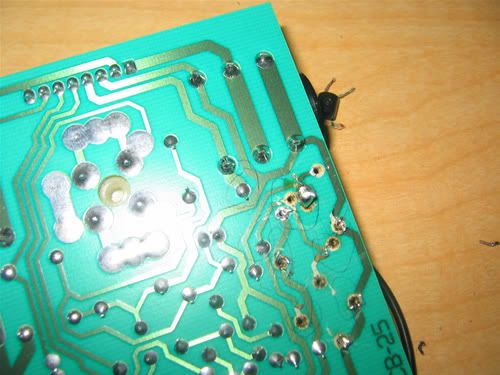
You can see it's soldiered in nice and easy.
Solder the other end of the wire to that upper middle lug on the switch.
Then connect up the other wires as are in the wiring diagram. It'll look something like this:

And that's pretty much it! Plus it in and sing away!
Read the Full Post....
Sunday, March 05, 2006
Installing LEDs into your car's footwells.
Things Needed:
- A buncha LEDs and resistors
- Wiring
- Inline fuse with 10A fuse
- Simple switch (I used a rocker switch)
- Wire strippers
- Electrical tape
Here's the basic wiring diagram:

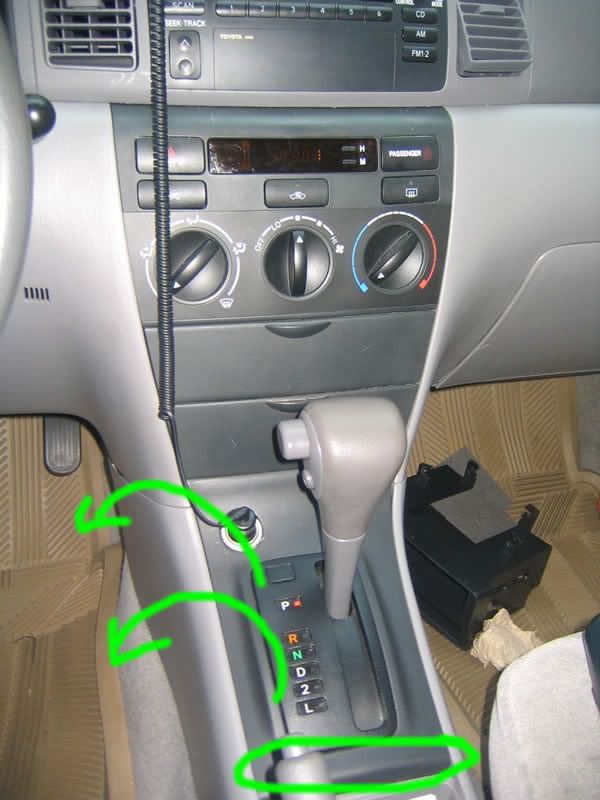
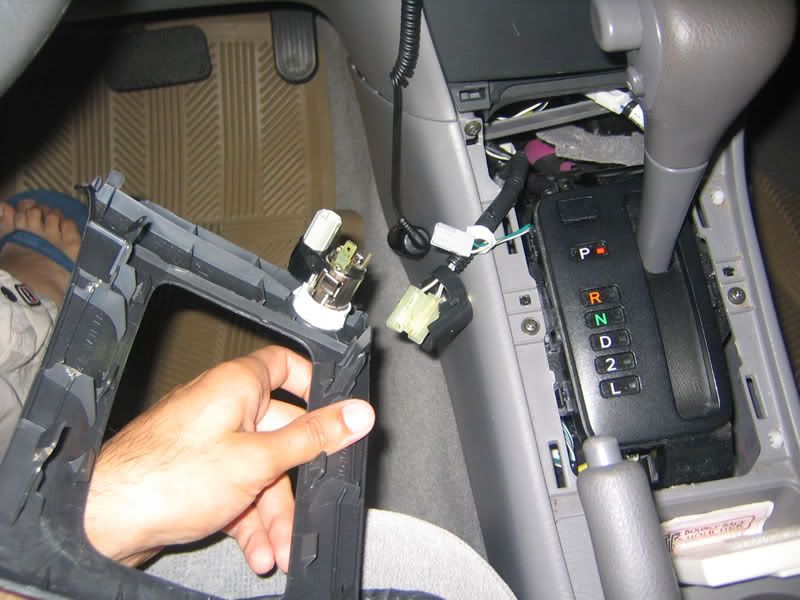
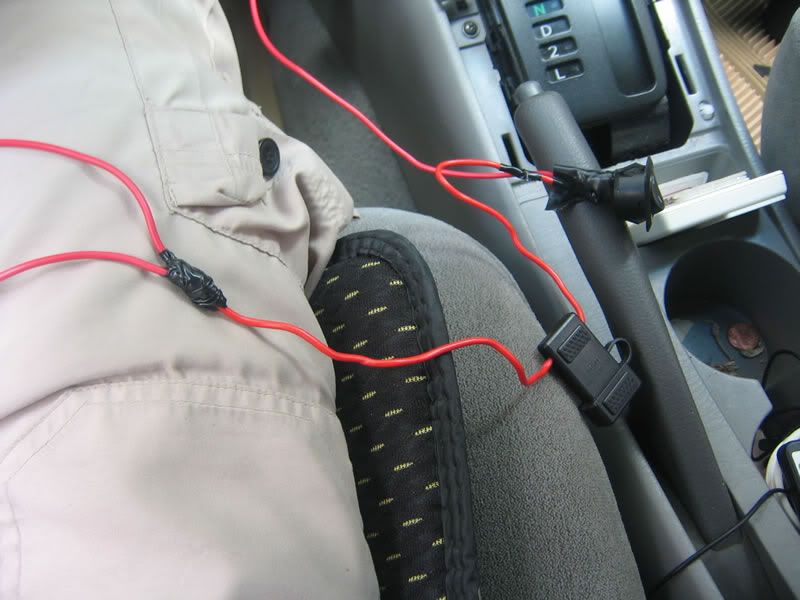
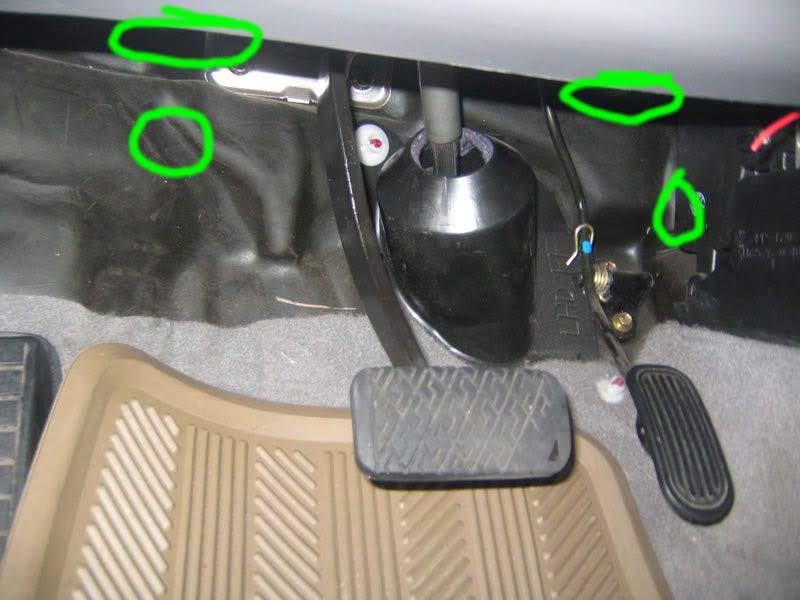
First, take off the bottom shifter peice.
Disconnect the cigarette lighter and the other little connector
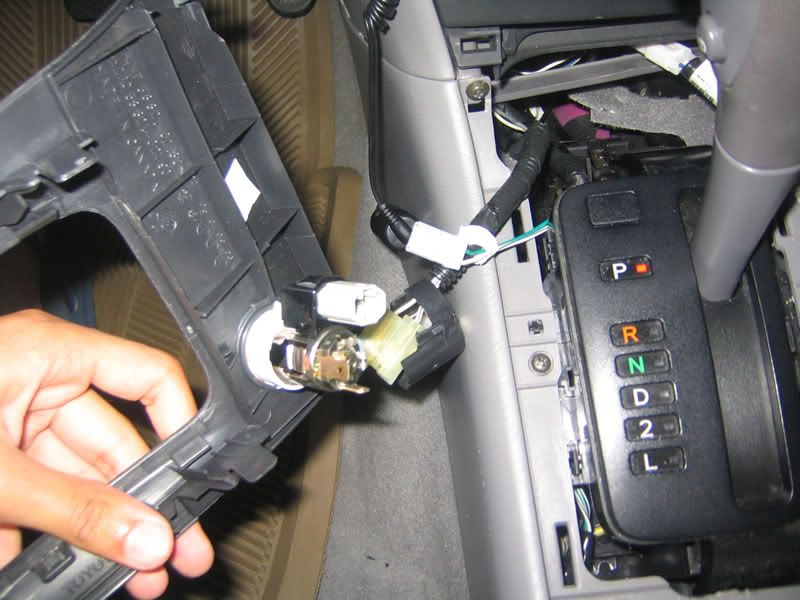
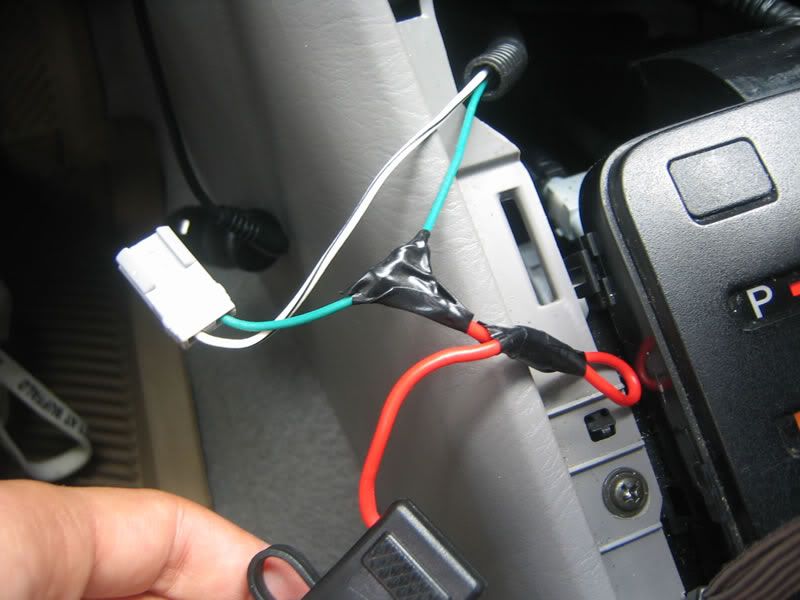
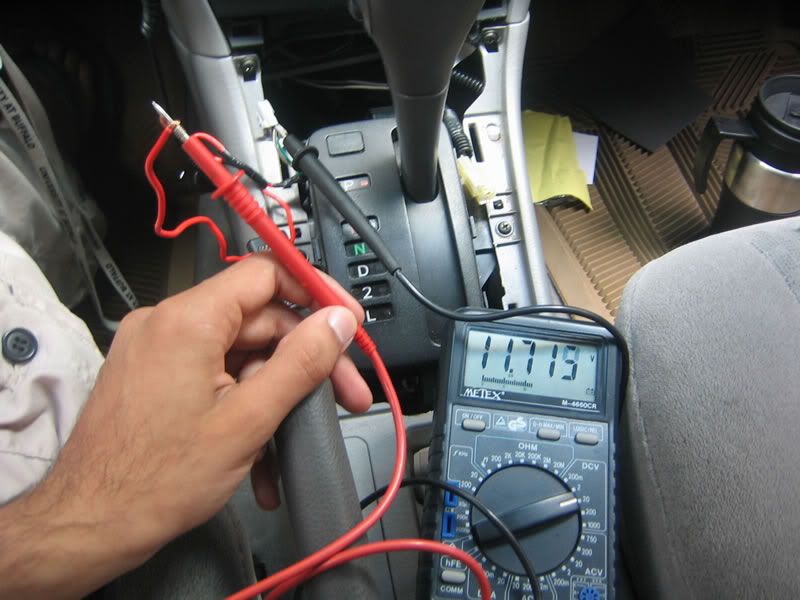
The green wire is the one you want to tap into, so split the wire. , and take it to the switch


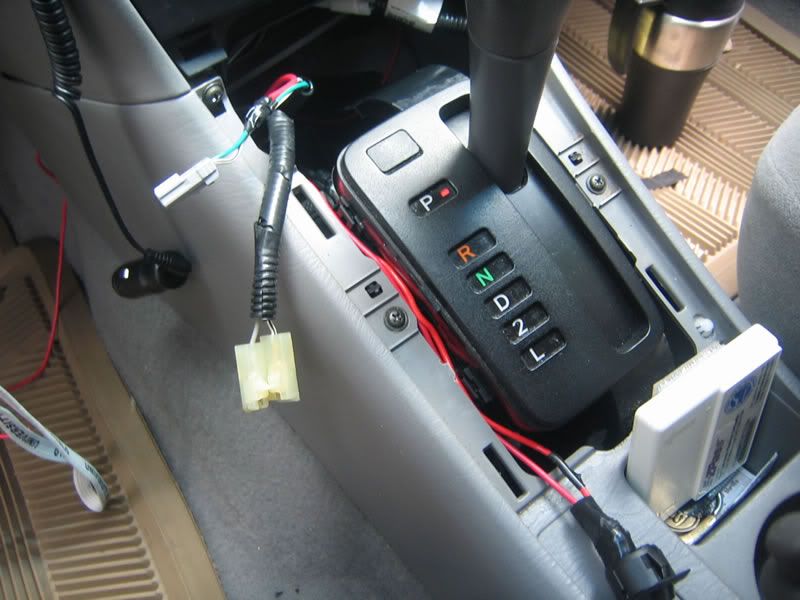
Make sure it works...it should get about 12v power
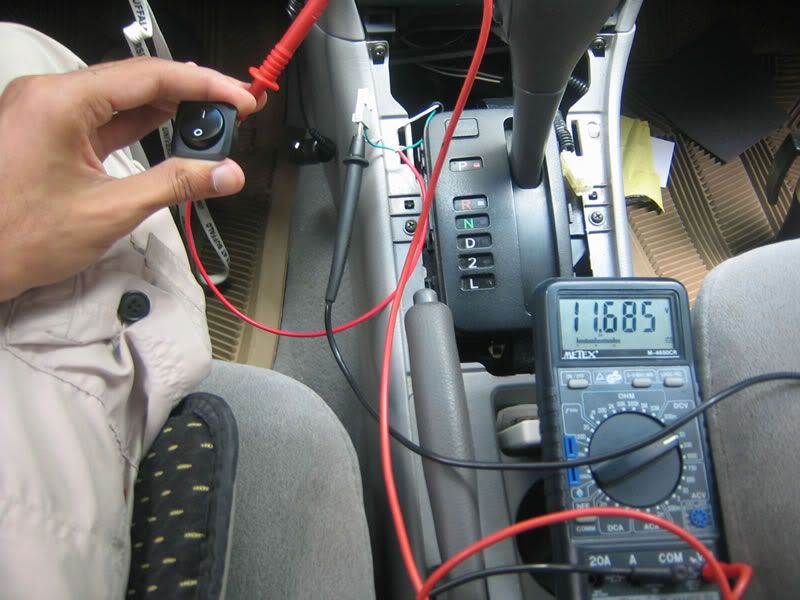
Now wire the fuse into the switch. I used a 10amp fuse.

Now from the fuse, branch off 2 wires, one for the left side and one for the right side.
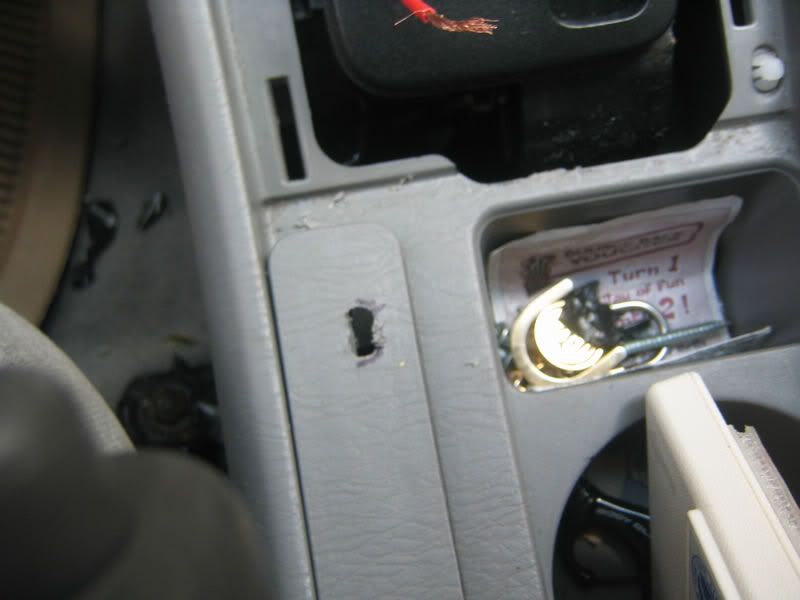
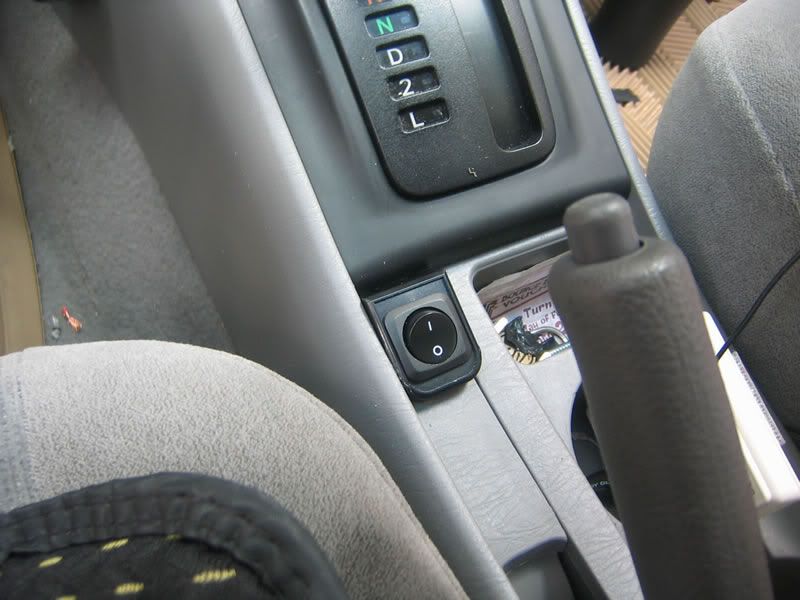
Now I wanted a nice, flush spot to mount the switch so it wouldnt look bad but won't be in the way. I chose to mount it right under the emergency brake.
Run the wires down so they goto that general area.
Take out the little part and bring the wires up. This is also a good spot because the fuse is quickly accessable.


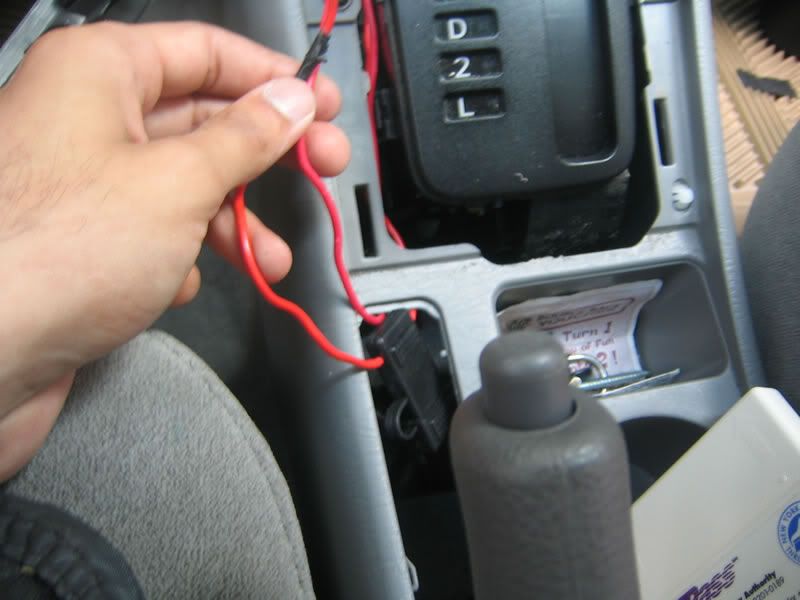
Dremels are the best thing invented, ever
Mount the switch in so it's nice and flush.
The white-black one, and splice into that for ground, also 2 wires and extend those so they come out the sides. (Sorry I didn't get a picture of that, I forgot, but it should be pretty self-explanitory if you got this far ;)
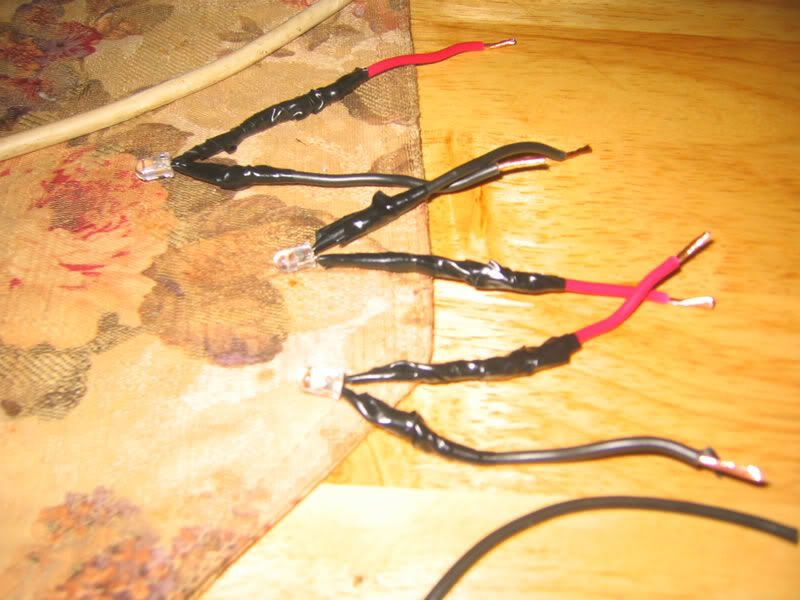
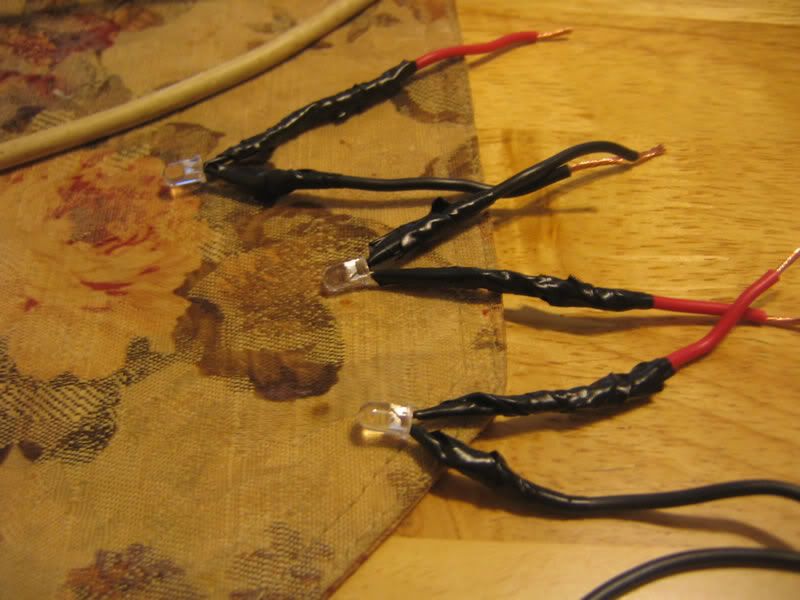
Now that that is done, now to wire up the LEDs
Soldered on the resistors, and then soldered the wires on and then electrical taped it


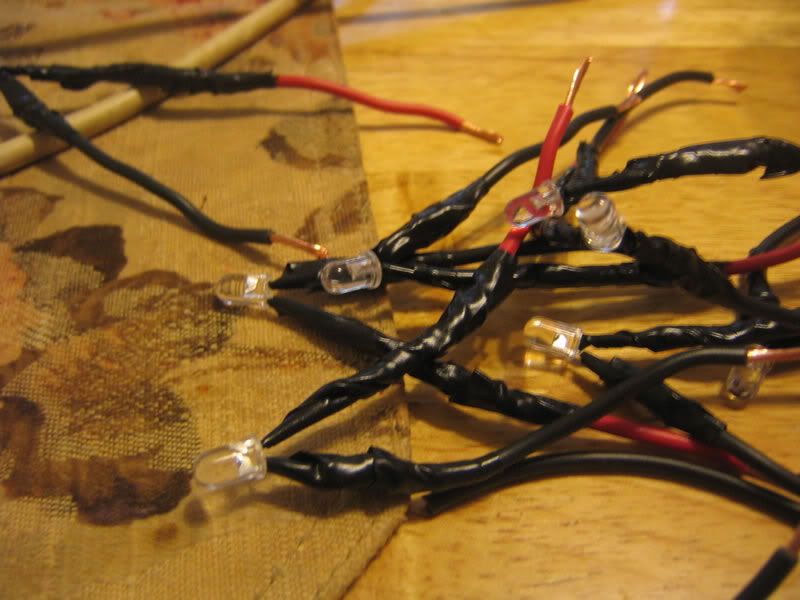
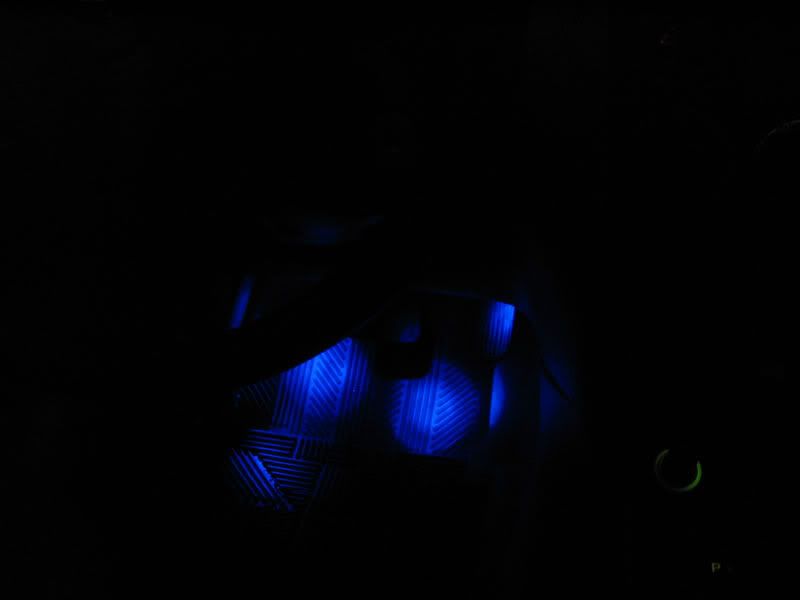
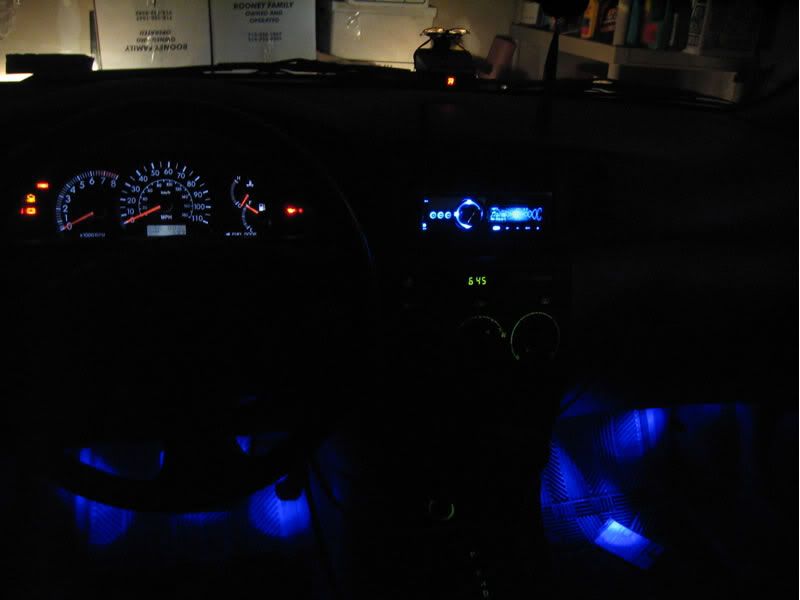
It wasn't night time when I took this pic, but at night, it looks much better. Now do the same thing for the other side (I havent finished it yet..) and then you're done! =)
Read the Full Post....
DIY Guide
Read the Full Post....
![]()
